X.com
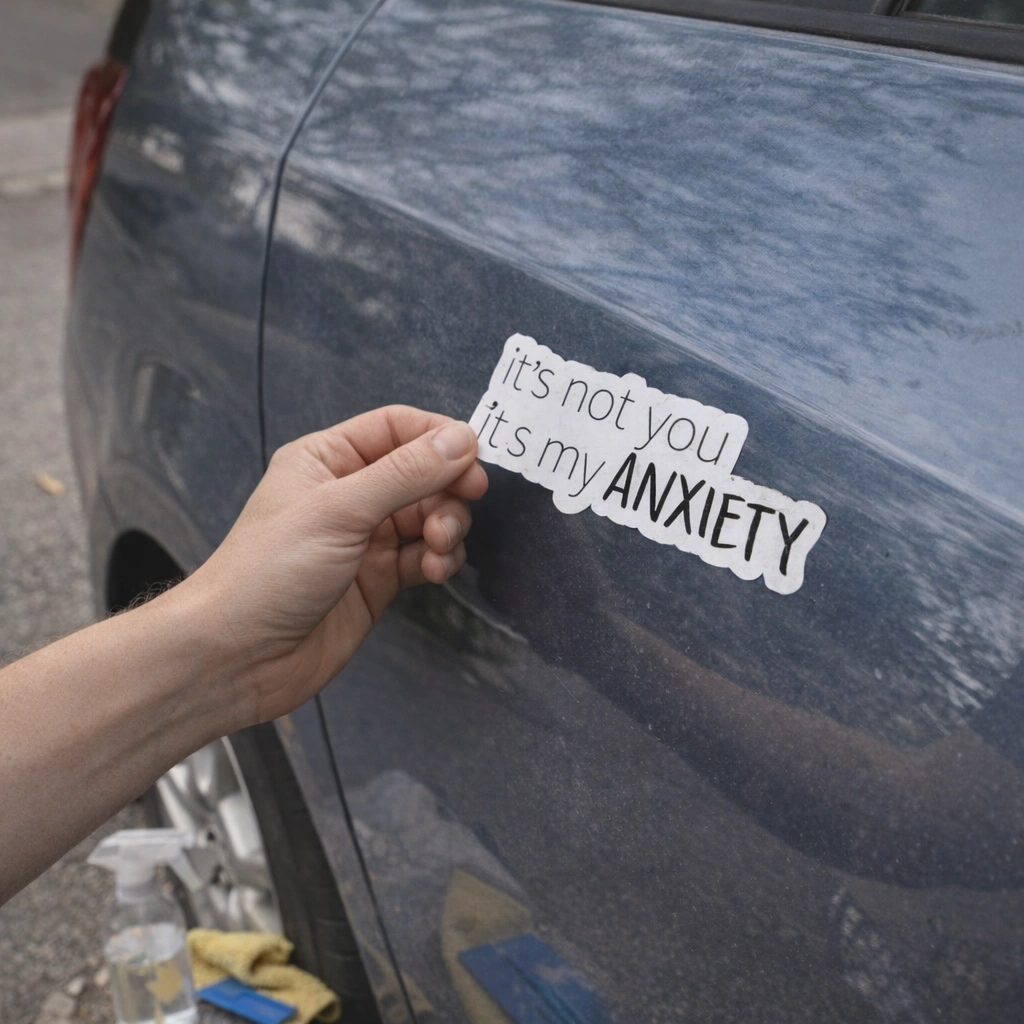
Drive down any highway and you’ll see vinyl stickers everywhere. Band logos on rear windows. Business names on truck doors. Funny bumper stickers that make you laugh at red lights. These aren’t people living dangerously with their paint jobs. They’re just people who know what they’re doing.
So yes, you can absolutely put a vinyl sticker on your car.
Most hesitation comes from one of two bad experiences. Either someone watched a poorly applied sticker get ripped off and take paint with it, or they used cheap paper stickers that bubbled, faded, and turned into a peeling mess within weeks.
Neither of those things happen with quality vinyl applied correctly. Vinyl is waterproof, UV resistant, and specifically built for surfaces like car paint and glass. It bonds without damaging and removes without leaving a disaster behind, as long as you know what you’re doing.
This guide walks you through everything, from choosing the right vinyl to applying it cleanly and removing it without stress.
Why Vinyl Specifically Works Well on Cars
Not all stickers are created equal, and paper stickers have no business being on a vehicle. Rain alone destroys them within days. Sun fades them within weeks. They bubble, peel, and leave behind that awful residue that feels impossible to clean.
Vinyl is different. It’s a flexible plastic material designed to handle outdoor conditions. Quality vinyl stickers are waterproof, UV resistant, and built to survive temperature extremes. They’re specifically engineered for applications like car surfaces where other materials would fail quickly.
When people ask whether stickers will damage their car, they’re usually thinking about cheap, low-quality stickers. High-quality vinyl applied to a car with good paint won’t damage the surface underneath. The concerns about ruined paint jobs almost always come from using wrong materials, improper removal, or existing paint problems that were already there before the sticker.
The Two Main Types of Vinyl for Cars
Before buying stickers for your car, it helps to understand the two main vinyl options available and which situation each one suits.
Removable Vinyl
Removable vinyl uses a lighter adhesive that bonds securely but releases more cleanly when it’s time to remove. If you like changing up your stickers regularly, plan to sell the car, or just want the flexibility to remove designs without stress, removable vinyl is usually the better choice.
The trade-off is that removable vinyl might not hold quite as firmly in extreme conditions over many years compared to permanent vinyl. For most personal use on car windows, bumpers, and body panels, removable vinyl performs perfectly well.
Permanent Vinyl
Permanent vinyl uses stronger adhesive and is designed to stay put for many years through harsh conditions. This is the better choice for long-term graphics you don’t plan to remove, outdoor commercial use, or situations where maximum durability matters.
Removing permanent vinyl after several years requires more effort and heat, and there’s slightly more risk of adhesive residue compared to removable options. That said, properly applied and removed permanent vinyl still comes off cleanly from paint in good condition.
Where on Your Car Can You Put Vinyl Stickers
Different parts of your car work differently with stickers. Here’s what to know about each area.
Windows and Windshields
Windows are actually the easiest surfaces for vinyl sticker application. Glass is smooth, non-porous, and responds well to adhesive. Vinyl bonds cleanly to glass and removes cleanly too.
The important thing with windshields and front windows is placement. Never put stickers anywhere that affects your sightlines while driving. Side rear windows and back windshields are the safest spots. Check your local regulations because some areas restrict how much window coverage is allowed, especially on front and side windows.
Inside window placement, where the sticker faces outward from inside the car, is another popular option. This protects the sticker from direct weathering and often makes designs look cleaner from the outside.
Bumpers
The classic bumper sticker placement still works great. Modern cars have plastic bumpers rather than metal, and vinyl adheres well to plastic surfaces as long as they’re clean and smooth.
Be aware that textured plastic surfaces can be trickier. Heavily textured plastic doesn’t provide enough smooth contact area for adhesive to bond fully, which leads to edge lifting over time. Smooth plastic bumpers work much better.
Car Doors and Body Panels
Flat or gently curved door panels and body surfaces work well for larger vinyl designs. These are painted metal or plastic surfaces that vinyl adheres to reliably.
The critical factor here is paint condition. Vinyl stickers on body panels with excellent paint conditions will apply cleanly and remove cleanly. If the paint is already chipping, bubbling, or showing signs of failing, putting a sticker over it creates risk. When the sticker comes off, it can pull weakened paint with it.
If your paint is in great shape, body panel vinyl stickers are no problem.
Hoods
Vinyl decals on hoods make a strong visual statement and work fine as long as you use quality material with proper UV protection. Hoods experience more direct sun exposure than other parts of the car, so UV-resistant vinyl and a protective laminate coating matter more here.
Without UV protection, stickers on hoods can fade noticeably faster than those in shadier positions.
How to Apply a Vinyl Sticker to Your Car Without Bubbles or Problems?
Application technique determines how good your sticker looks and how long it stays put. Rushing this step creates problems that are hard to fix afterward.
Step 1: Clean the Surface Thoroughly
This step matters more than anything else. Dirt, wax, grease, and oils all prevent proper adhesion. Wash the area and then wipe it down with rubbing alcohol or an automotive surface cleaner to remove any remaining residue. Let it dry completely before proceeding.
Never apply stickers to a freshly waxed car. The wax creates a barrier that prevents proper bonding.
Step 2: Check the Temperature
Adhesive performs best in moderate temperatures, roughly between 50 and 90 degrees Fahrenheit. Cold temperatures make adhesive stiff and less effective. Extreme heat makes the sticker sticky before you’re ready.
Early morning or evening application during summer avoids the worst heat. Avoid application during cold winter days unless you can bring the car into a warmer space first.
Step 3: Plan Your Placement Before Peeling
Hold the sticker against the surface before removing the backing and look at it carefully. Is it centered? Level? Does it avoid any areas you’re unsure about? Once the adhesive touches the surface, repositioning is much harder.
For larger stickers, use pieces of masking tape to temporarily hold the sticker in position while you check the placement from different angles.
Step 4: Apply Using the Hinge Method for Larger Stickers
For small stickers, you can simply peel and place them carefully. For larger designs, the hinge method works better.
Tape one edge of the sticker to the surface, creating a hinge. Peel the backing away from the opposite side, then slowly lower the sticker onto the surface while smoothing it from the hinged edge outward with a squeegee or credit card. This technique pushes air out ahead of the application and prevents bubbles from forming.
Step 5: Smooth Out Firmly and Work the Edges
Once the sticker is on the surface, go over it firmly with a squeegee or credit card, working from the center outward. Pay special attention to the edges and corners since these are the first spots to lift if not fully bonded.
If small bubbles appear, you can often smooth them toward the nearest edge. For stubborn small bubbles, a pin prick followed by gentle pressing often solves the problem.
Step 6: Give It Time to Bond
The adhesive continues bonding for hours after application. Avoid washing the car or exposing the sticker to heavy rain for at least 24 hours after applying. This gives the adhesive time to fully set.
How to Remove Vinyl Stickers Without Damaging Your Car?
Removal is where people most often run into trouble, usually because they skip the heat step and just try to peel the sticker off cold.
Use Heat First
A hair dryer on medium heat or a heat gun on low setting warms the adhesive and makes the vinyl flexible. Work in small sections, heating and peeling rather than trying to pull the whole sticker at once.
Hold the heat source about 4 to 6 inches from the surface and move it around rather than focusing on one spot. You want to warm the adhesive without overheating the paint underneath.
Peel at a Low Angle
Pull the sticker back slowly at a shallow angle, close to parallel with the surface rather than straight out. This technique puts less stress on the paint and reduces the chance of tearing.
If you feel strong resistance, apply more heat before continuing. Forcing it without heat is where paint damage happens.
Clean Up Adhesive Residue
Even well-applied stickers sometimes leave a small amount of adhesive residue behind. This is normal and not a problem.
Apply a small amount of adhesive remover, rubbing alcohol, or even cooking oil to the residue and let it sit for a minute. Then wipe gently with a soft cloth. Avoid abrasive materials that could scratch the surface. Once the residue is gone, wash the area and apply car wax if needed to restore the finish.
Common Mistakes That Cause Problems
Knowing what goes wrong helps you avoid the issues that give car stickers a bad reputation.
Applying to dirty surfaces. This is the most common mistake. Dirt and oils prevent full adhesion, causing early peeling and poor appearance.
Buying cheap, low-quality stickers. Vinyl quality varies dramatically. Thin, unlaminated stickers fade quickly, peel at edges, and leave worse residue when removed. Investing in quality vinyl makes every other step easier.
Ignoring existing paint problems. If your paint is already failing in an area, don’t put a sticker there. The sticker won’t fix it and removal will likely make the paint problem worse.
Removing stickers without heat. Skipping the heat step causes tearing, difficult residue, and occasional paint damage. This step takes two extra minutes and prevents most removal problems.
Applying in extreme temperatures. Very cold or very hot conditions affect adhesive performance. Application in mild temperatures always produces better results.
How Long Will Vinyl Stickers Last on a Car?
Quality vinyl stickers on car surfaces typically last three to five years under normal conditions. With proper UV protection from laminate coating, some stickers last even longer.
Factors that affect longevity include sun exposure, climate, how often the car gets washed, and vinyl quality. Cars parked in shade or garages most of the time will see stickers last longer than vehicles sitting in full sun all day.
Bumper stickers and window decals often outlast body panel stickers because windows and bumpers tend to get less direct paint-aging sun exposure.
Do Car Stickers Affect Your Car’s Value
This is a reasonable question for people thinking about resale. A well-applied, cleanly removed vinyl sticker leaves no permanent trace on the car, so it doesn’t affect value if removed before selling.
Stickers left on the car during a sale can affect buyer perception, particularly if they’re large, positioned prominently, or represent something very personal. Some buyers see customized cars as appealing. Others prefer a clean slate.
If you’re planning to sell, removing stickers with proper technique well before listing leaves the paint looking exactly as it should.
Conclusion
Putting vinyl stickers on your car is completely fine and millions of people do it without any issues. The key is using quality vinyl designed for outdoor use, preparing the surface properly, applying with care, and removing with heat when the time comes.
The stories about ruined paint and impossible-to-remove residue almost always involve cheap materials, skipped surface preparation, or cold removal without heat. Follow the steps in this guide and you won’t have any of those problems.
Your car is yours to express yourself with. A well-chosen vinyl sticker in the right location adds personality without risk. Go for it.
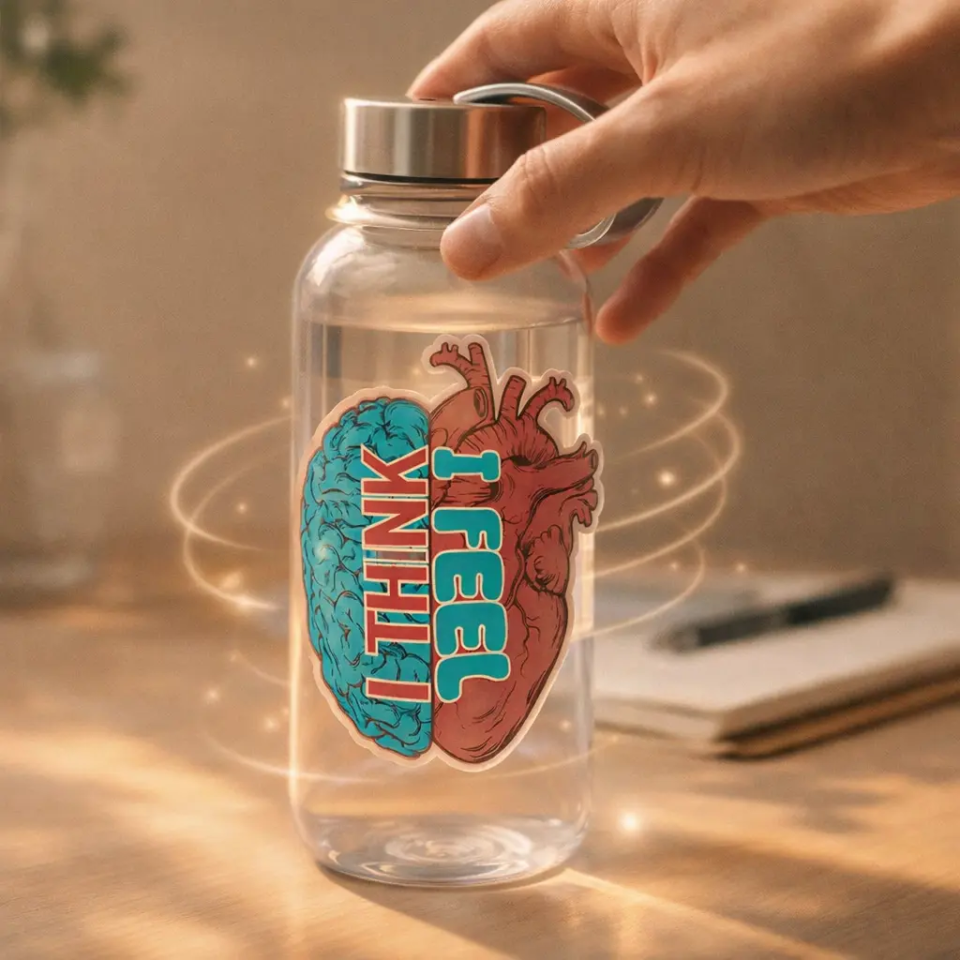
How Your Stickered Water Bottle Became Your Most Powerful Manifestation Tool
Your water bottle goes everywhere with...
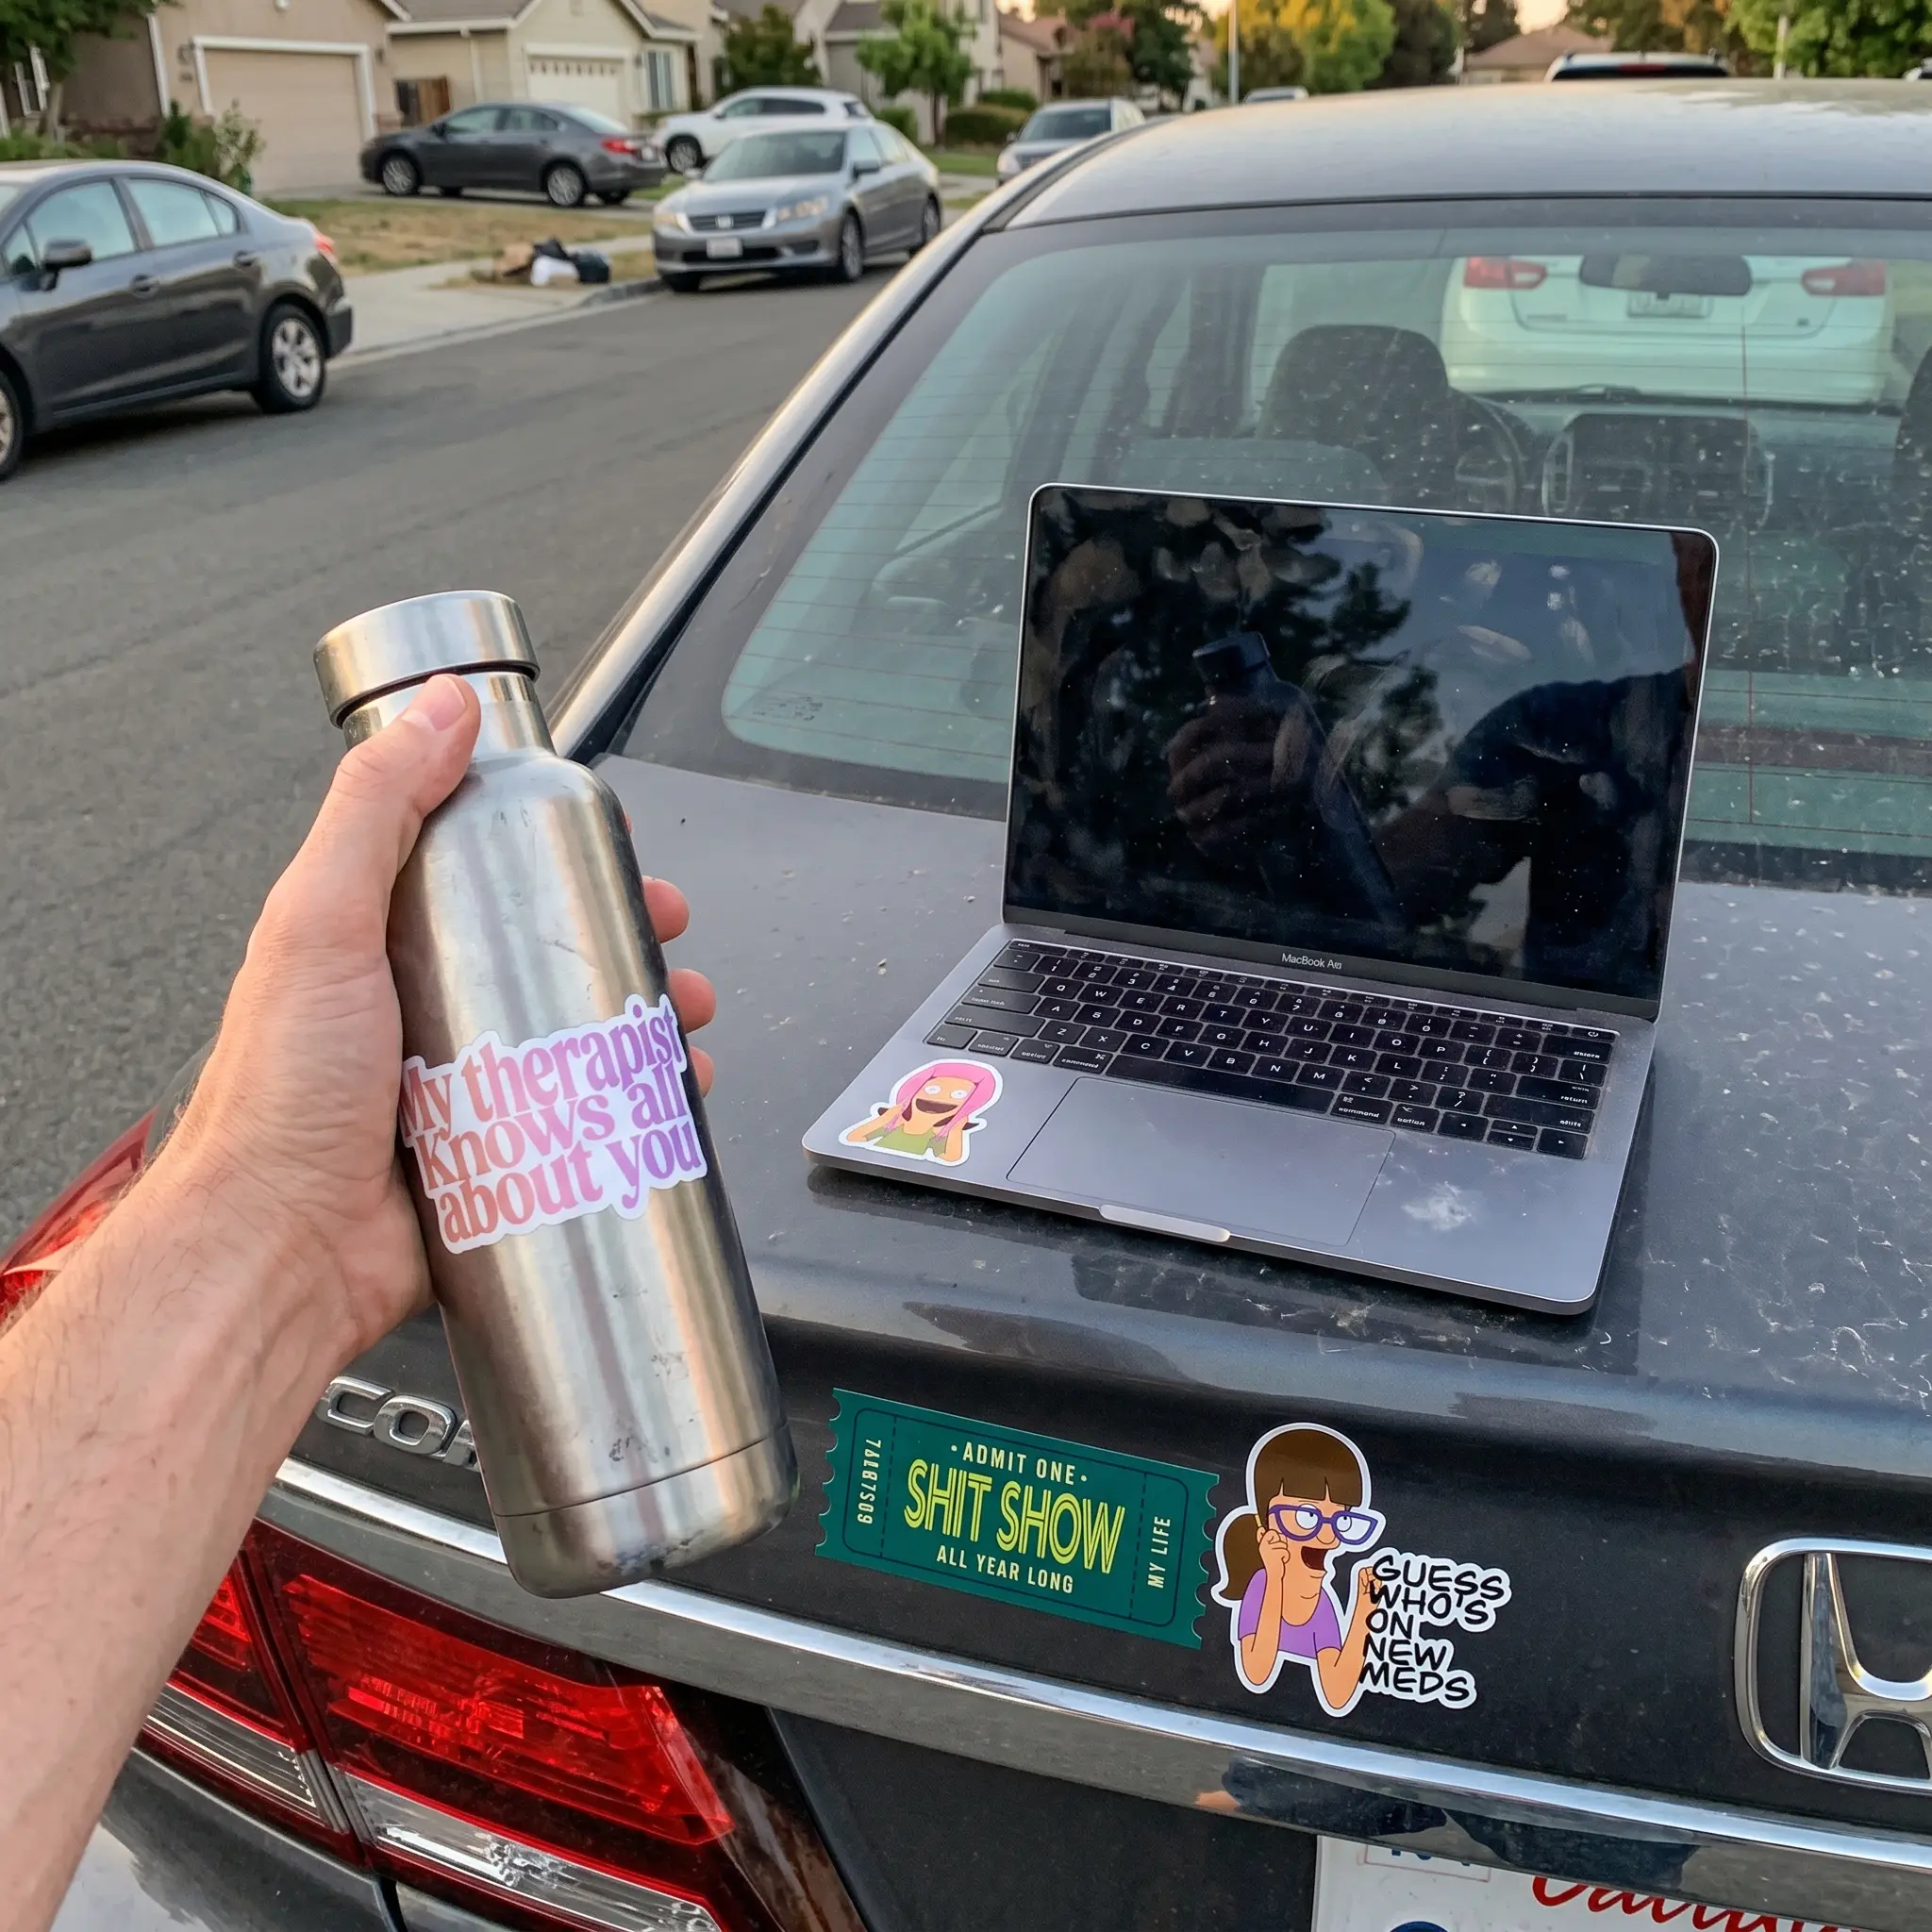
Top 25 Funny Stickers for Laptops, Water Bottles & Cars (Gen Z Edition)
Let’s be honest. Your stickers...
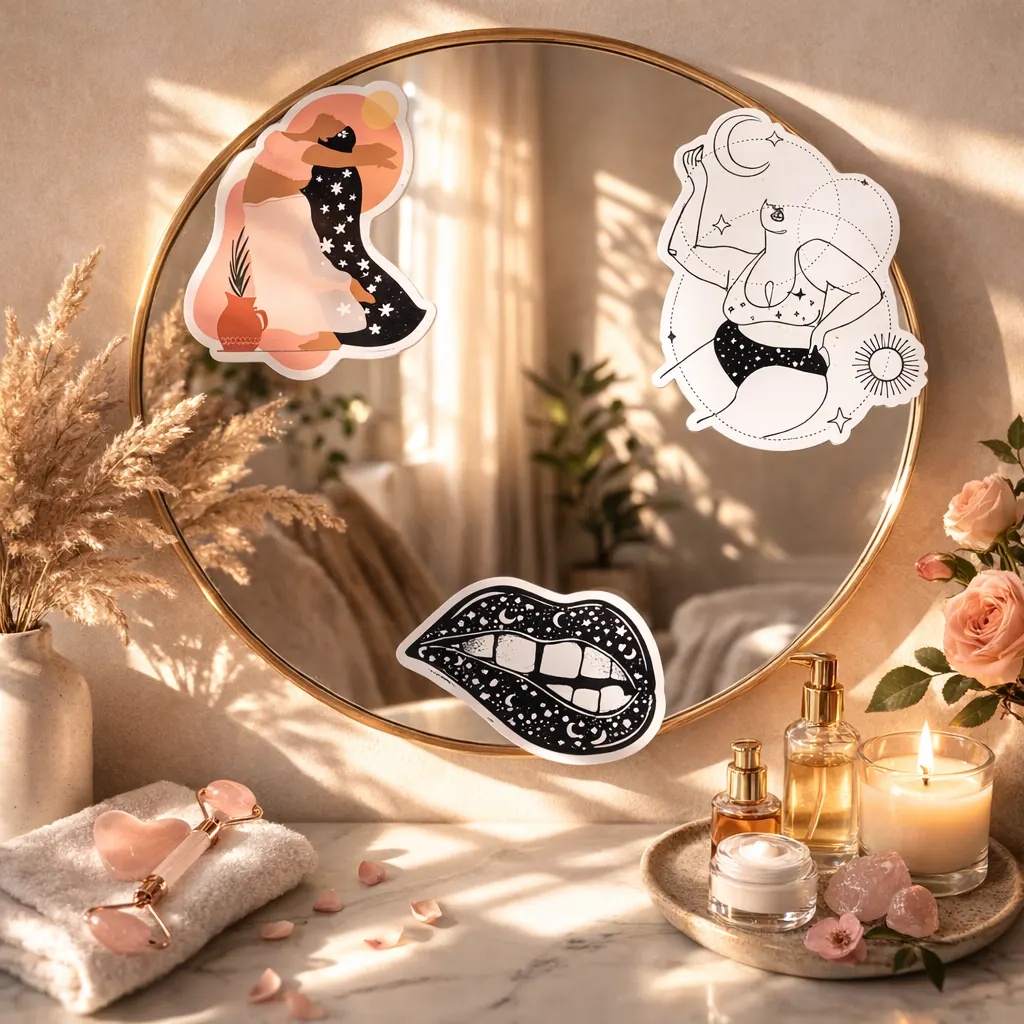
How Body Positive Vinyl Stickers Help Spread Self-Love
There is a famous saying by Meghan...