
X.com
Ever applied a vinyl sticker and ended up with bubbles, peeling edges, or a crooked mess you cannot undo? You are not alone. It happens to almost everyone the first time.
The good news is that applying vinyl stickers cleanly is a skill anyone can learn. Whether you are placing custom vinyl stickers on your laptop, decorating your water bottle, or putting up wall decals, the right technique makes all the difference.
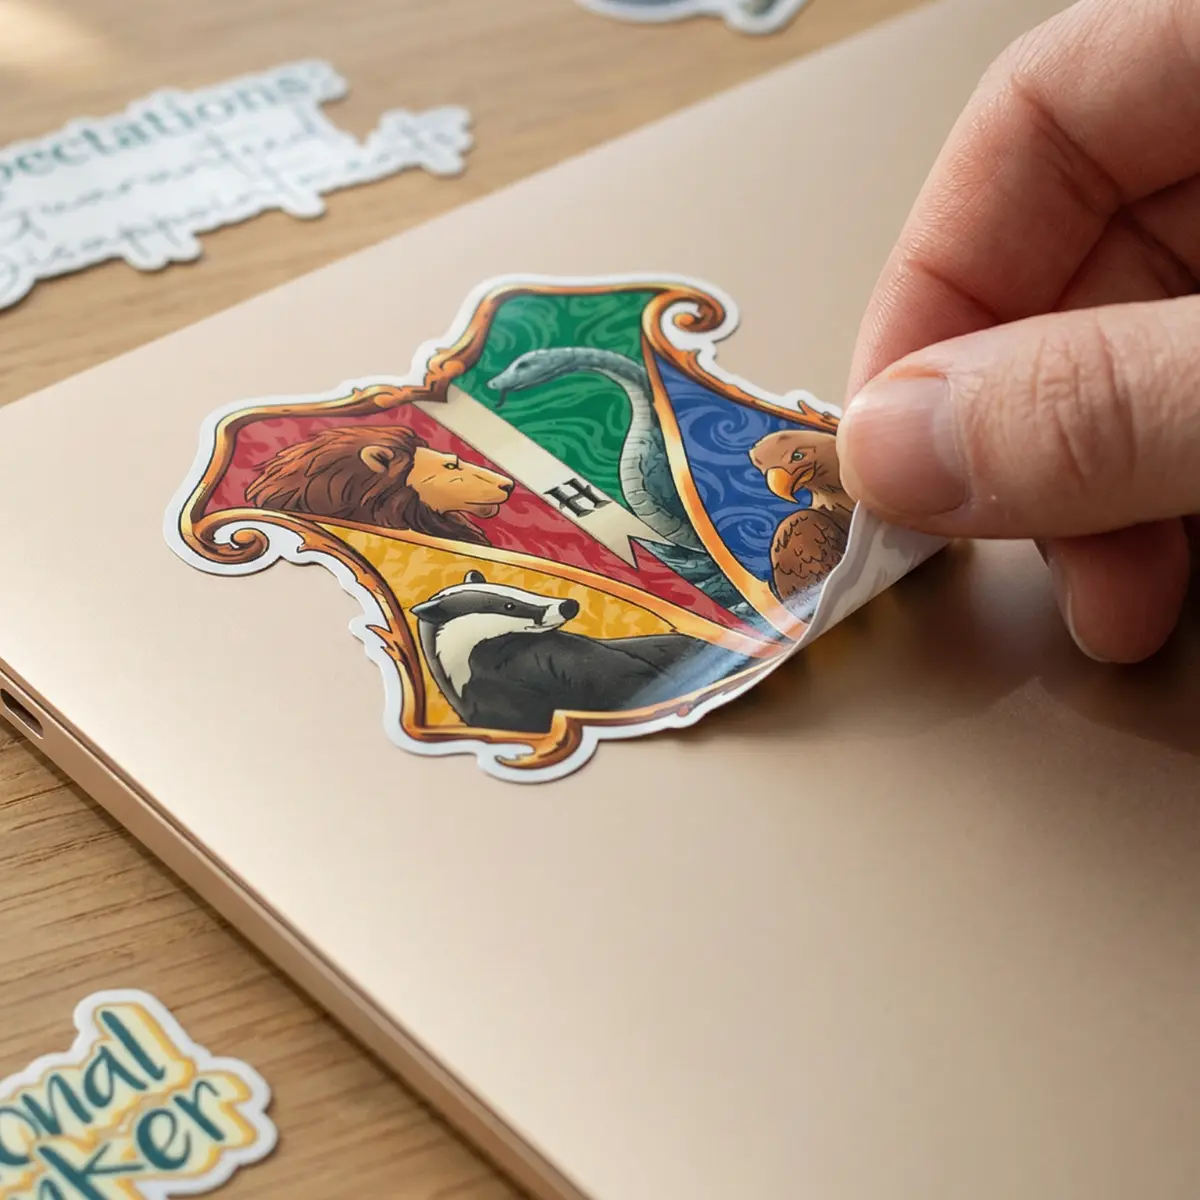
This guide shows you exactly how to apply vinyl stickers without bubbles, how to fix mistakes when they happen, and how to make your stickers last. So, if you also want to add magic with Harry Potter stickers, but safely and without irritation of applications, scroll down.
Quick Answer: How to Apply Vinyl Stickers Without Bubbles
- Clean the surface thoroughly with a microfiber cloth
- Position the sticker using masking tape as a hinge
- Peel the backing slowly at a 45-degree angle
- Press down firmly from the center outward using a squeegee
- Remove transfer tape slowly at a low angle
Why Vinyl Stickers Get Bubbles and Start Peeling
Before you fix the problem, it helps to understand why it happens. Bubbles and peeling almost always come down to one of three causes:
| Cause | What Goes Wrong | Result |
| Dirty surface | Dust and oil prevent adhesion | Bubbles form under the sticker |
| Fast application | Air gets trapped as you press down | Large bubbles, uneven finish |
| Moisture or humidity | The adhesive does not bond properly | Edges lift and peel quickly |
| Cold surface | Adhesive stays stiff and weak | Poor stick, peeling within days |
| Rushing the peel | Backing tears or vinyl folds | Misalignment and creases |
Air bubbles in vinyl stickers are the most fixable problem. Peeling is harder to reverse. That is why surface prep is the step you should never skip.
Tools You Need for Perfect Vinyl Sticker Application
You do not need much, but the right tools make the process significantly cleaner. This vinyl sticker application guide assumes you have these basics:
| Tool | Purpose | Budget Option |
| Squeegee or credit card | Smooth out bubbles, press adhesive down | Old gift card works fine |
| Microfiber cloth | Clean the surface without leaving lint | Any clean soft cloth |
| Masking tape | Create a hinge for alignment | Standard painter’s tape |
| Isopropyl alcohol (70%+) | Remove oil and residue before applying | $2 to $4 at any pharmacy |
| Spray bottle with water | Wet method only: repositioning fluid | Any small spray bottle |
| Pin or needle | Pop large bubbles without peeling | Any sewing needle |
For high quality custom vinyl stickers with detailed graphics or multiple colors, a squeegee is especially important. It helps the adhesive bond evenly across intricate edges.
Step-by-Step Guide: How to Apply Vinyl Stickers
Step 1: Clean the Surface
Wipe the surface with isopropyl alcohol and let it dry completely. Even surfaces that look clean have invisible oil from fingerprints or cleaning sprays. Any residue under the sticker creates a weak bond. Avoid water alone for this step. Water does not cut through oils. Alcohol does.
Step 2: Position the Sticker
Do not peel the backing yet. Place the sticker exactly where you want it and secure the top edge with a strip of masking tape. This creates a hinge that holds the sticker in position while you apply it. This is the best way to apply vinyl stickers with accuracy, especially for larger decals where getting the angle right matters.
Step 3: Peel the Backing Slowly
Flip the sticker back over the tape hinge. Peel the backing slowly from the bottom, pulling it back at a 45-degree angle rather than straight down. If the vinyl starts lifting with the backing, press it back and peel more slowly.
Detailed stickers like the Aries Zodiac Sign Sticker have fine lines and curves that require extra care during this step. Peel slowly and keep the backing taut.
Step 4: Apply Using a Squeegee
Lower the vinyl onto the surface gently, starting from the hinge end. Use a squeegee or credit card to press from the center outward in firm, overlapping strokes. This pushes air out toward the edges rather than trapping it in the middle.
This technique is the core of how to apply vinyl decals without bubbles. Do not press down randomly. Always work outward from the center.
Step 5: Remove Transfer Tape Carefully
Once the sticker is fully pressed down, remove the transfer tape by pulling it back slowly at a low angle (almost parallel to the surface). Pull slowly and pause if any part of the vinyl starts to lift with it. Press that section back down and try again.
For laptop stickers and smooth surfaces, the transfer tape usually comes off cleanly in one pull. For textured or rough surfaces, go slower and press down with your fingernail as you go.
Wet vs Dry Method: Which One Should You Use?
This is one of the most common questions for beginners. Both methods work. The choice depends on your sticker size and how much repositioning you need.
Dry Method
|
Wet Method
|
Wet vs dry vinyl application comes down to sticker size. Use dry for anything smaller than a playing card. Use wet for large wall decals, car decals, or any sticker going on a curved surface.
How to Apply Vinyl Stickers Without Bubbles: Pro Tips
Going beyond the basics matters when you are applying something you care about. Since Zodiac Vinyl stickers are trending, applying them accurately is a must, so you can also align your vibe with the trend. These tips will protect your investment:
- Apply in a warm room. Below 50 degrees Fahrenheit, vinyl adhesive stiffens and does not bond well. Room temperature (65 to 75 degrees) is ideal.
- Keep consistent pressure across the squeegee stroke. Uneven pressure creates uneven adhesion.
- Work slowly on curved surfaces. Stretch the vinyl slightly as you press to avoid fold lines.
- Avoid touching the adhesive side with bare fingers. Skin oils prevent bonding.
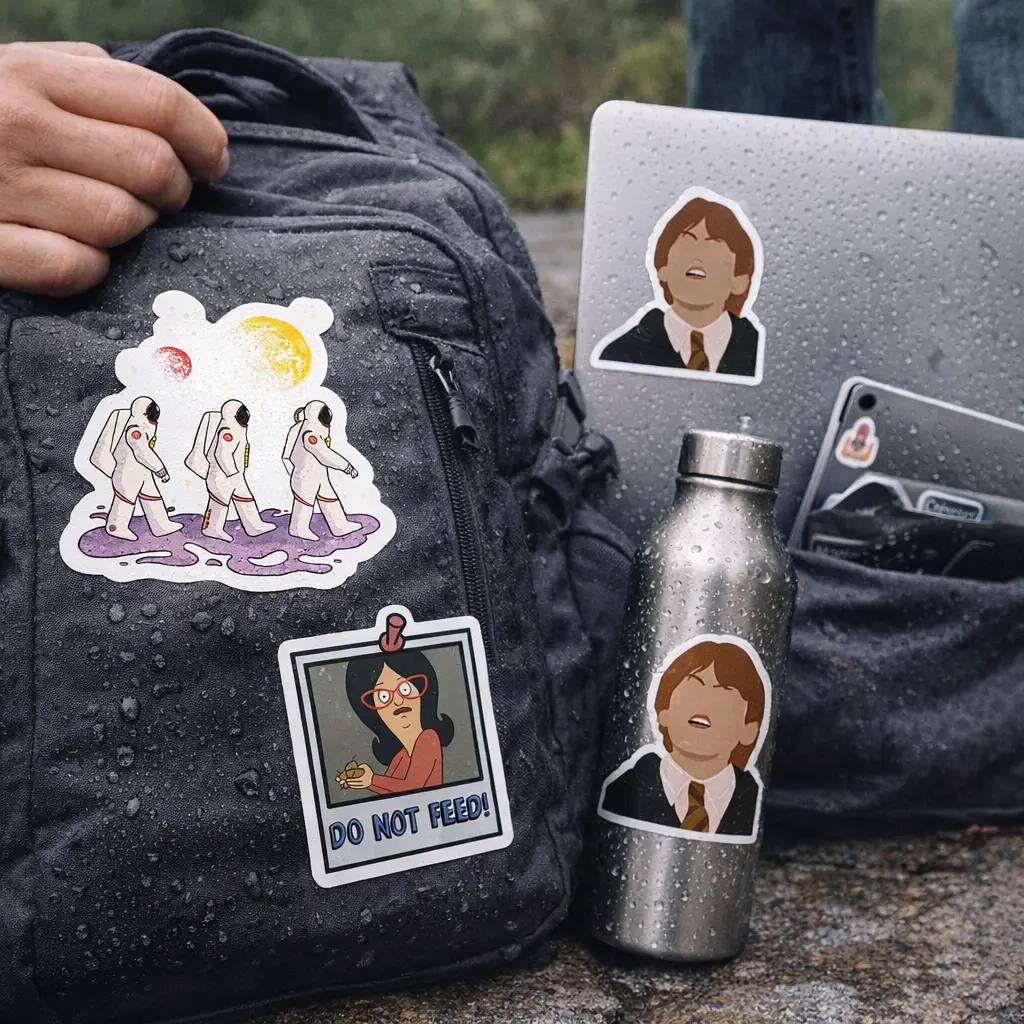
- For laptop stickers and high quality custom vinyl stickers on glossy surfaces, press edges down firmly after the main application. Edges are the first place peeling starts.
How to Fix Bubbles in Vinyl Stickers
Mistakes happen. Here is how to fix them based on bubble size:
| Bubble Type | Fix Method | Tools Needed |
| Tiny bubbles (under 3mm) | Press outward with the squeegee toward the nearest edge | Squeegee or credit card |
| Small bubbles (3mm to 1cm) | Apply heat with a hair dryer for 10 seconds, then press | Hair dryer + squeegee |
| Large bubbles (over 1cm) | Pierce at the edge with a pin, press air out slowly | Pin or needle |
| Trapped dirt bubble | Lift carefully, remove debris, reapply with pressure | Tweezers + credit card |
| Full misalignment | Reheat with hair dryer, peel carefully, reposition | Hair dryer + steady hands |
How to remove bubbles from vinyl stickers is easier than most people expect. Small bubbles often disappear on their own within 24 to 48 hours as the adhesive settles. Only tackle them manually if they are still visible after two days.
Common Mistakes to Avoid
- Skipping surface cleaning. This is the single most common cause of both bubbles and peeling.
- Applying too quickly. Speed causes air trapping. Slow, methodical application prevents it.
- Peeling the backing all the way before applying. Peel as you go, section by section.
- Removing the transfer tape too fast. Rushing this step pulls the vinyl up with the tape.
- Applying in direct sunlight. Heat from sunlight speeds up adhesion before you are ready to adjust.
Even decorative stickers like a capricorn goddess zodiac sticker with its detailed line work are easy to apply cleanly when you avoid these mistakes. The design is only as good as the surface it lands on.
Tips for Long-Lasting Vinyl Stickers (No Peeling)
Application is half the battle. Post-application care determines how long your stickers actually last.
- Wait 24 hours before exposing the sticker to water, rain, or cleaning products. The adhesive needs time to fully cure.
- Apply in temperatures between 60 and 80 degrees Fahrenheit for the strongest initial bond.
- Press edges firmly with your thumbnail after full application. Edges are the most vulnerable point.
- Avoid peeling or scratching the edges. Once an edge lifts, moisture gets underneath, and peeling accelerates.
Stickers with strong personal meaning, like body positivity stickers to spread self love, deserve to stay looking good. A proper application with edge pressing and a 24-hour cure window makes a real difference in longevity.
Best Surfaces for Vinyl Sticker Application
Surface type affects both adhesion and how long your sticker lasts. Here is what to expect from the most common surfaces:
| Surface | Adhesion Quality | Special Notes |
| Glass | Excellent | Clean with alcohol. Stickers come off cleanly later. |
| Metal (smooth) | Excellent | Use the dry method. Best long-term durability. |
| Laptop (plastic) | Very good | Use the dry method. Avoid near vents or hinges. |
| Painted walls | Good | Test in a small area first. Paint quality matters. |
| Plastic bottles | Good | Degrease first. Avoid the dishwasher after application. |
| Textured surfaces | Moderate | Edges may not seal. Use firm pressure and edge pressing. |
| Fabric | Poor | Standard vinyl is not designed for fabric. Use HTV instead. |
For applying wall vinyl stickers smoothly, the wet method is recommended for anything larger than a standard letter size. It gives you the extra seconds needed to align and smooth out a large decal before the adhesive grips.
FAQs
1. Can I apply vinyl stickers without tools?
Yes, for small stickers on smooth surfaces. Use a credit card or your fingernail as a squeegee substitute. For larger stickers or textured surfaces, a real squeegee makes a noticeable difference in bubble prevention.
2. What is the best way to apply vinyl stickers?
The best way to apply vinyl stickers is the dry method with a masking tape hinge: clean the surface with alcohol, position the sticker with tape, peel slowly, and press with a squeegee from the center outward. Take your time on the peel and squeegee steps.
3. Can I reapply a vinyl sticker?
Sometimes. Freshly applied stickers can be carefully lifted with heat from a hair dryer and repositioned. Stickers that have been down for more than a few days tend to lose adhesion when removed and may not stick cleanly again. High-quality custom vinyl stickers generally tolerate one repositioning if done carefully.
4. How long do vinyl stickers last?
Properly applied vinyl stickers last 3 to 7 years on outdoor surfaces and longer indoors. UV-resistant vinyl lasts longer in sunlight. Edge peeling, scratching, and heat exposure are the main factors that reduce lifespan.
Ready to Apply Like a Pro?
The right method is everything. Clean the surface, use a squeegee, peel slowly, and press outward from the center. Do those four things every time, and you will get a smooth, bubble-free finish on every sticker you apply.
Practice on a cheap sticker before using your best ones. Once you have the technique down, it takes under two minutes per sticker, and the results hold for years.
Waterproof Stickers vs. Water-Resistant Stickers — What is the Real Difference?
You put a sticker on your water bottle,...

How to Make Your Laptop Aesthetic with Premium Vinyl Stickers?
Your laptop is more than just a tool...
7 Ways to Boost Your Holiday Branding with Stickers
The holiday season is basically the...


